Curvenote on the Command Line
Steve Purves, Rowan Cockett · July 21, 2022
Over the past few months, we’ve been busy building an open source Command Line Interface (CLI) that sits on top of our content translation schemas and talks to the Curvenote API. We’ve put a lot of time and care into the design of the Curvenote CLI to make it easy to use and so you can get results quickly. In this post, we will dive into the main capabilities of the Curvenote CLI.

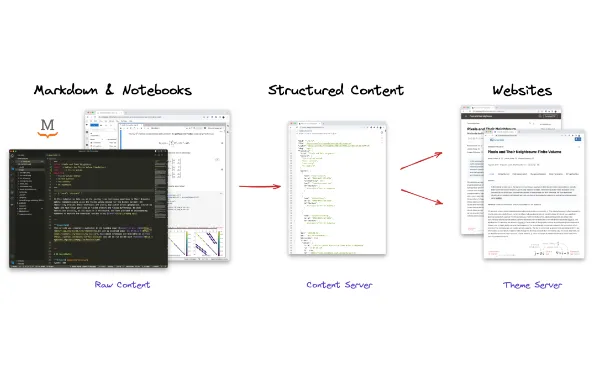
Figure 1:The Curvenote CLI after you run curvenote init
Installing the Curvenote CLI
The new Curvenote CLI runs in NodeJS. You can install the Curvenote CLI using node v14 or greater:
npm install -g curvenoteYou can learn more about installing Node or NPM if those tools aren’t familiar.
The CLI can work completely locally on your content and files. It can also connect and synchronize with the Curvenote API (learn how to get an API key), opening up collaborations between folks working online in the Curvenote editor, in the Curvenote Jupyter extension, or locally through the command line.
Creating Websites
The CLI provides a simple development experience for writing content and publishing websites designed for open science publications — whether that’s a preprint or paper, materials for a whole research project or a full Ph.D. thesis. Other examples include:
Seminar & conference websites

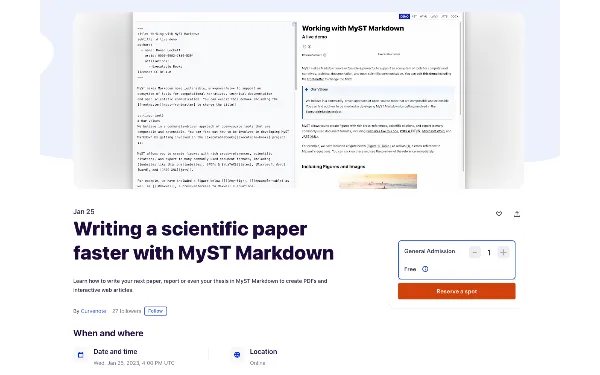
Figure 2:A selection of websites that can be built using the Curvenote CLI.
Getting Started
Key commands for building websites locally are:
curvenote init- initialize your folder with acurvenote.ymlfile containingprojectandsiteconfigurationcurvenote start- build your website, start a local web server, and open a preview in your web browser (this preview will update in real time as you update content!)curvenote deploy- deploy your website to Curvenote’s free hosting services
Provided you already have content in Markdown files or Juptyer Notebooks, you can get a website started, previewed, and deployed to the web in just a few minutes.
Here is a demo where Rowan got a full live demo done in 2 minutes and 54 seconds. 🚀
Check out our tutorials on different routes to get started:
Cloning Curvenote Projects
The CLI works with both local content and content online in Curvenote projects. The latter is made possible by Curvenote’s API and underlying version control. You can pull in content from projects that you collaborate on with others, save new versions of your work, and update exiting projects with both content and website configuration information.
At the moment there are two commands that allow you to sync content. Those are clone and pull, which fetch new content to a local folder and fetch updates for an existing local folder respectively.
First, let’s take a look at clone
curvenote clone <https://curvenote.com/@username/my-project>For example, try curvenote clone https://curvenote.com/@templates/web
This command can behave in one of two ways:
Run this in an empty folder and this will fetch the project’s existing
curvenote.yml,siteconfiguration and content enabling you to work on this locally and deploy manually.Run this in an initialized local folder (i.e. one containing a
curvenote.ymlwith yoursiteconfiguration) and this will add the project as an additional section in your existing website, fetching the content and updating your website’s navigation controls in the process.
The first allows update and manual deployment of any existing website either by another user or by an automated system (e.g. through the Curvenote GitHub Action), where the entire site configuration and latest versions of content is retrieved in full with a single command.
The second case enables powerful content aggregation workflows when publishing, allowing someone with the CLI to build documents or websites based on content from multiple collaborating users or groups, even when permission to access that content may be different on each project (of course, the CLI user must have access to all). An example of such a publication is the SWUNG Transform Conference Website which was built from the Curvenote projects and GitHub repositories of many different groups of authors.
Next, let’s take a look at pull, which can only be run from within an initialized folder:
curvenote pull [optional/content/path]This command allows you to pull the latest updates for content in all projects, or a specific project or document if the optional path is provided.
Roadmap
We’re extending the CLI to expose Curvenote’s full version control capabilities (i.e. merge, diff, push). This will enable:
a round trip of files and content with conflict resolution, allowing authors working locally to work with others concurrently no matter if they are working locally themselves or in the online editor
the ability to add and push new files including images and other supported files to Curvenote projects, enabling workflows where visualizations and figures are generated outside of Jupyter notebooks.
Stay tuned for updates on Bluesky!
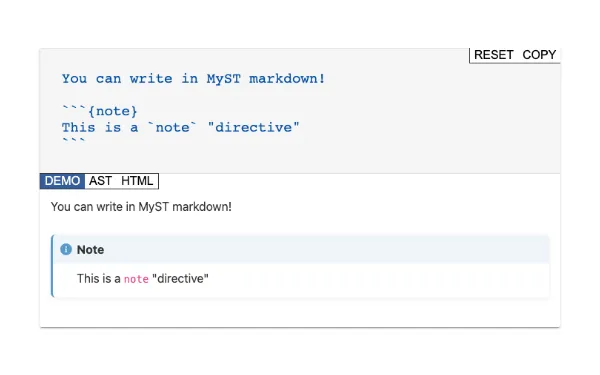
Exporting Content to Word, PDF, LaTeX, MyST and more
The last CLI service we’ll talk about is curvenote export. This exposes functionality from Curvenote’s open source schema, nbtx, and prosemirror extensions which constitute a powerful document translation engine. It is used to build Markdown (MyST), HTML, DOCX, ipynb, jupyter-books, LaTeX and PDF files locally from a Curvenote article.
See the list of commands below:

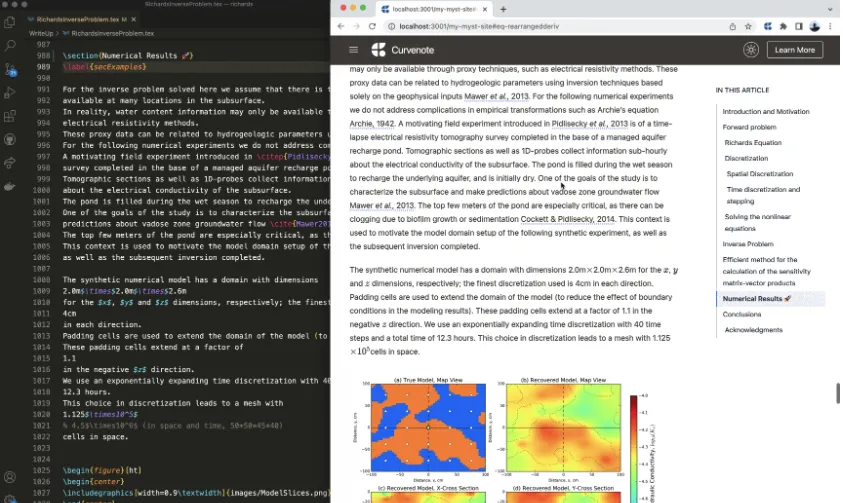
Figure 3:Export to PDF, LaTeX, Markdown, Microsoft Word, JupyterBook or Sphinx with Curvenote.
The commands in the export service will likely change over the coming months as we improve the functionality for local export/rendering.
When dealing with LaTeX and PDF exports you can also use templates from Curvenote’s Public Template Repository and create documents ready for submission to a number of preprint services and scientific journals.

Figure 4:A few of the PDF templates that you can export to using the CLI, allowing you to write your content once, then export to any template.
For more details on how to use the export service and dependencies that you may need to run some commands see our documentation.
Roadmap
Right now export commands only work with Curvenote projects, where content is pulled directly from the API into a temporary folder and built. We are currently changing this to support building from a local folder as well as support multi-article export (e.g. a PhD thesis or large report).
Get Started
We’ve built out detailed documentation at https://
To begin your scientific writing and publishing journey with Curvenote, just Install the CLI and start building scientific content for the web, syncing and exporting to different document formats.
See the Curvenote CLI in action
Watch our recent webinar on Creating an Open Research Website where we go from a folder of Markdown files and Jupyter Notebooks to a published website in a few minutes, before exploring the customizations we can make to change navigation, add more content, add licenses, DOIs, binder links and more.
Have your content on GitHub? quickly try building a site directly from your repository using try.curvenote.com.