In this guide, we’ll take you through the steps of using GitHub to version your website and collaborate with others, while also using GitHub Actions to deploy your website.
In this guide you will learn about:
- What to commit to your repository on GitHub
- Adding a CI workflow, using the Curvenote Deploy action from the GitHub action marketplace
- How to check the status of your deployment
- Good development practices, to avoid deploying draft content to your site
What to commit to git
After working with a curvenote website locally, a number of files and folders will be created within your local folder alongside your content. Some of these should be committed to git, while others should be ignored.
- add
curvenote.ymlfiles togit- there will be at least one file at the root of your repo and potentially others in content subfolders for more complex configurations - ignore the
_build/folder by adding it to your.gitignore- this is only used for a caching local build assets when usingcurvenote start
Deploying from CI using GitHub Actions
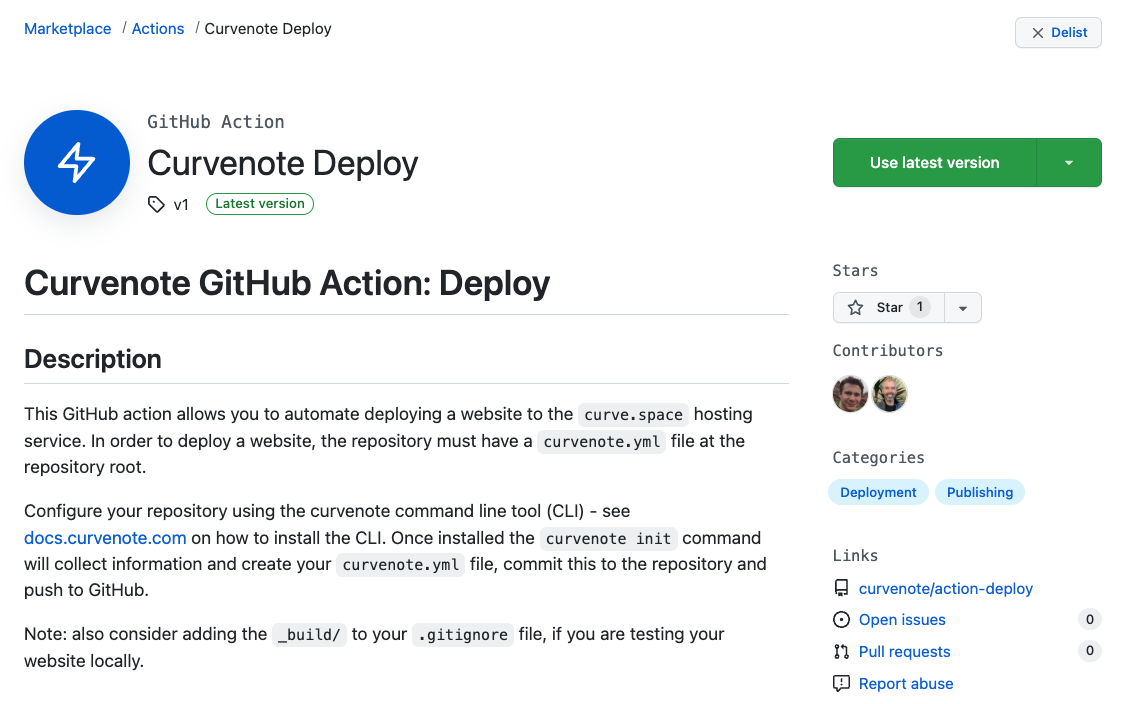
Curvenote provides a deployment action in the GitHub Marketplace, allowing you to easily add automated deployment to your repository.

Curvenote Deploy action on the GitHub Marketplace
Add a new GitHub workflow
In your repository create a new file on the following path .github/wofklows/deploy.yml. And then copy the following yml into that file.
name: Curvenote Deploy
on:
  push:
    branches:
      - main
jobs:
  deploy:
    runs-on: ubuntu-latest
    steps:
      - name: Deploy to curve.space
        uses: curvenote/action-deploy@v1
        env:
          CURVENOTE_TOKEN: ${{ secrets.CURVENOTE_TOKEN }}
This will run on any push to the main branch and requires an API token to work.
Generate a new API token
It is good practice to use separate API tokens for your different environments, making it easy to remove one of needed whilst not affecting others. Generate a new API Token as described in Authorization.
On GitHub, navigate to your repository and follow this guide from GitHub to add a new “Repository Secret”. This secret should be named CURVENOTE_TOKEN and the value set to the API token string.
Commit, push and test
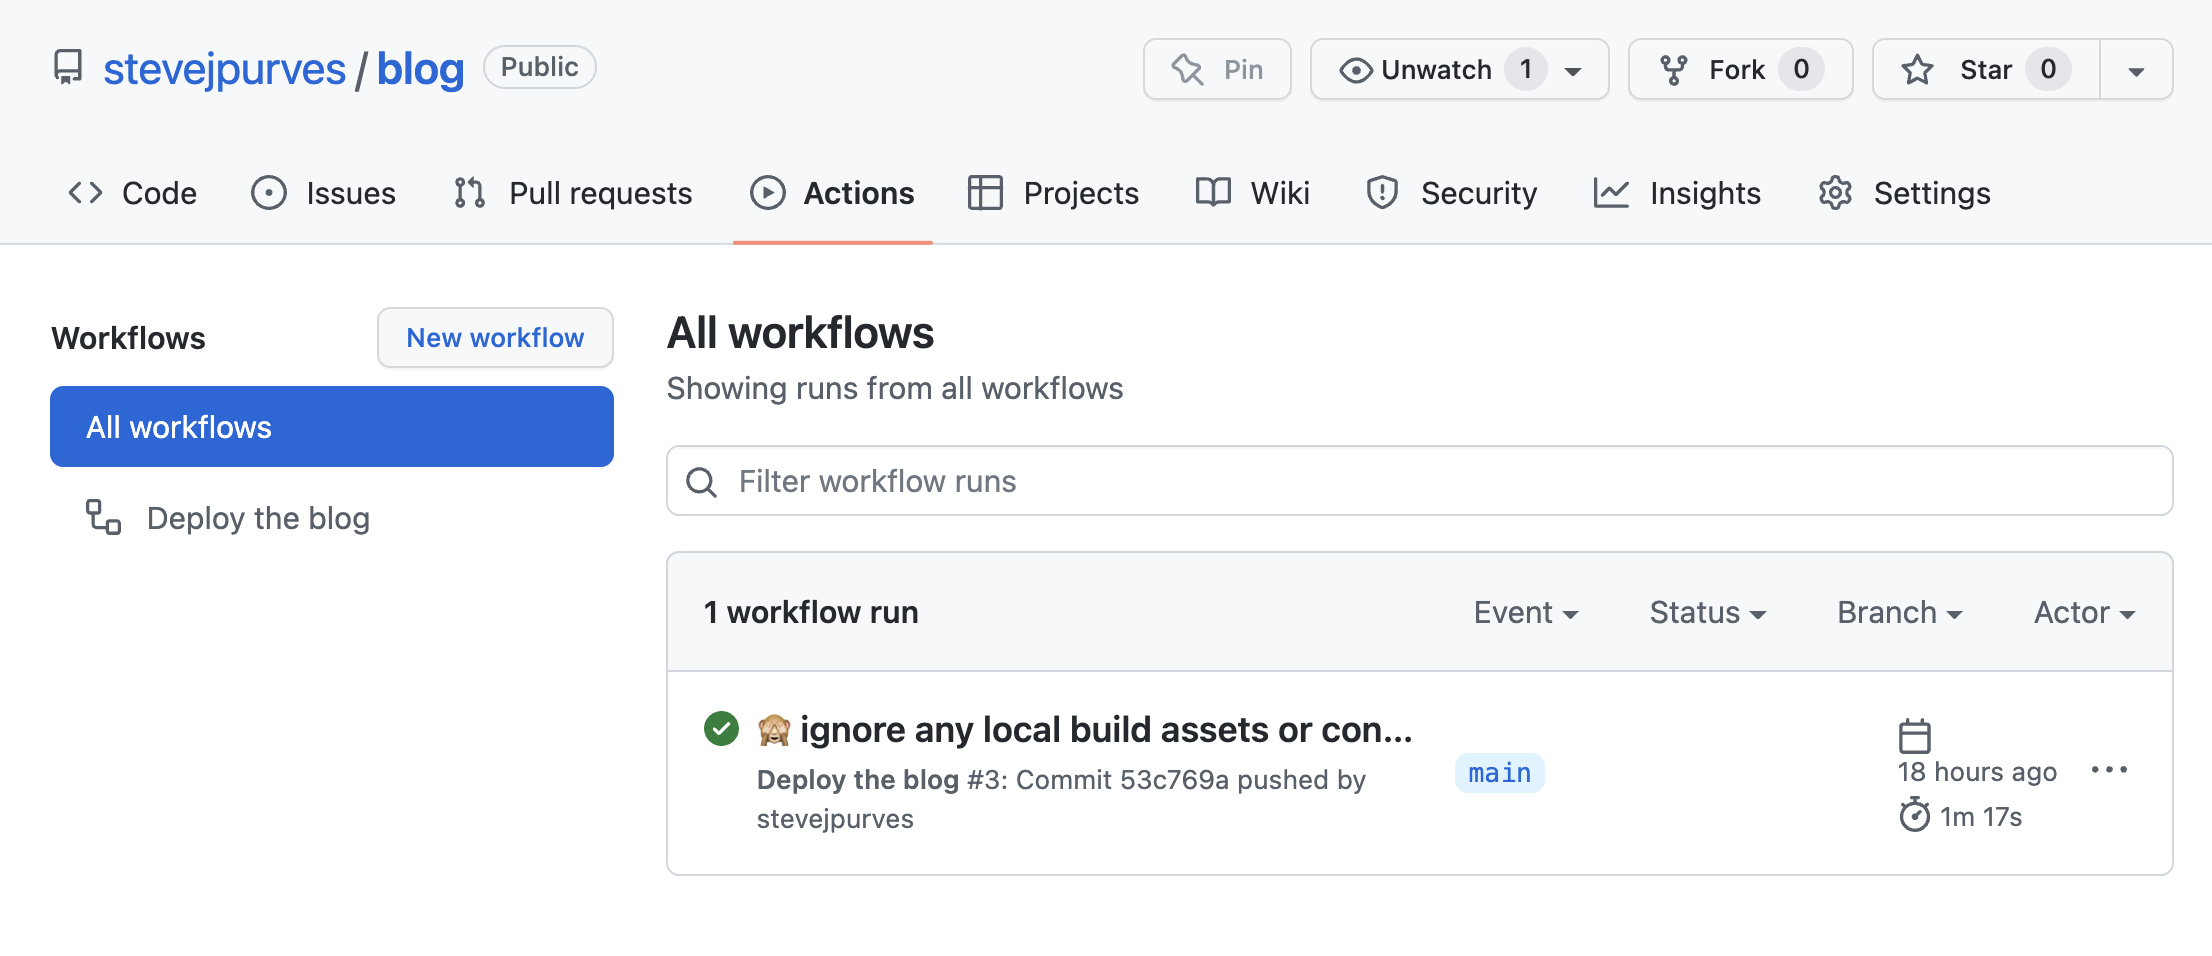
If you have not already, commit your changes and push to main. The github action will run automatically and will complete with success ✅ if the content was built and site deployed correctly.

You can see the status of your deployments in the Actions tab on your repository in GitHub. On any failure you will need to click on the action and check the logs to debug the issue.
Pulling content from linked projects
If your website project, includes other linked projects on curvenote.com then you may want to automatically include the latest changes from those projects on deployment.
To do so modify the .github/workflows/deploy.yml file to include the following option:
steps:
  - uses: actions/curvenote-deploy@v1
    with:
      pull: true
Development practices
In many cases, you’ll want to be able to push working changes to git without triggering a deployment of your site. There are a few different ways you can achieve this.
Develop on branches
Most suitable for single developers or small teams, simply create a branch for any changeset you are making and review this via a Pull Request (PR) into the main branch. Only merge your PR when you are ready to deploy your changes.
Create a dev branch
Most suitable for teams, creating a long lived dev or develop branch allows multiple developers to easily collaborate and work on multiple feature branches, while still being able to integrate those changes into dev regularly. When a changeset is ready to deploy dev should be merged into main, usually via a PR for review. To learn more about development practices like this read about gitflow.
Deploy from a different branch
The last two scenarios both deploy from main which is convenient and requires no change to the default workflow setup provided above. We recommend deploying from main and using one of those strategies. However, if you do want to deploy from a separate release branch, simply modify the .github/workflows/deploy.yml and replace main with the new branch name e.g. release.
on:
  push:
    branches:
      - release