The requirements on how include an Appendix in a manuscript can vary greatly depending on where you are publishing. There are two approaches that you can take in Curvenote.
Mark Blocks as Appendix
In order to create an appendix in your paper you can add one or more blocks to the bottom of your manuscript and mark them as Appendix. To do this go into Block Settings in the ⠇ menu on the left hand side of the block:

A view of the block level menu accessible from the ⠇ to the top left of each block.
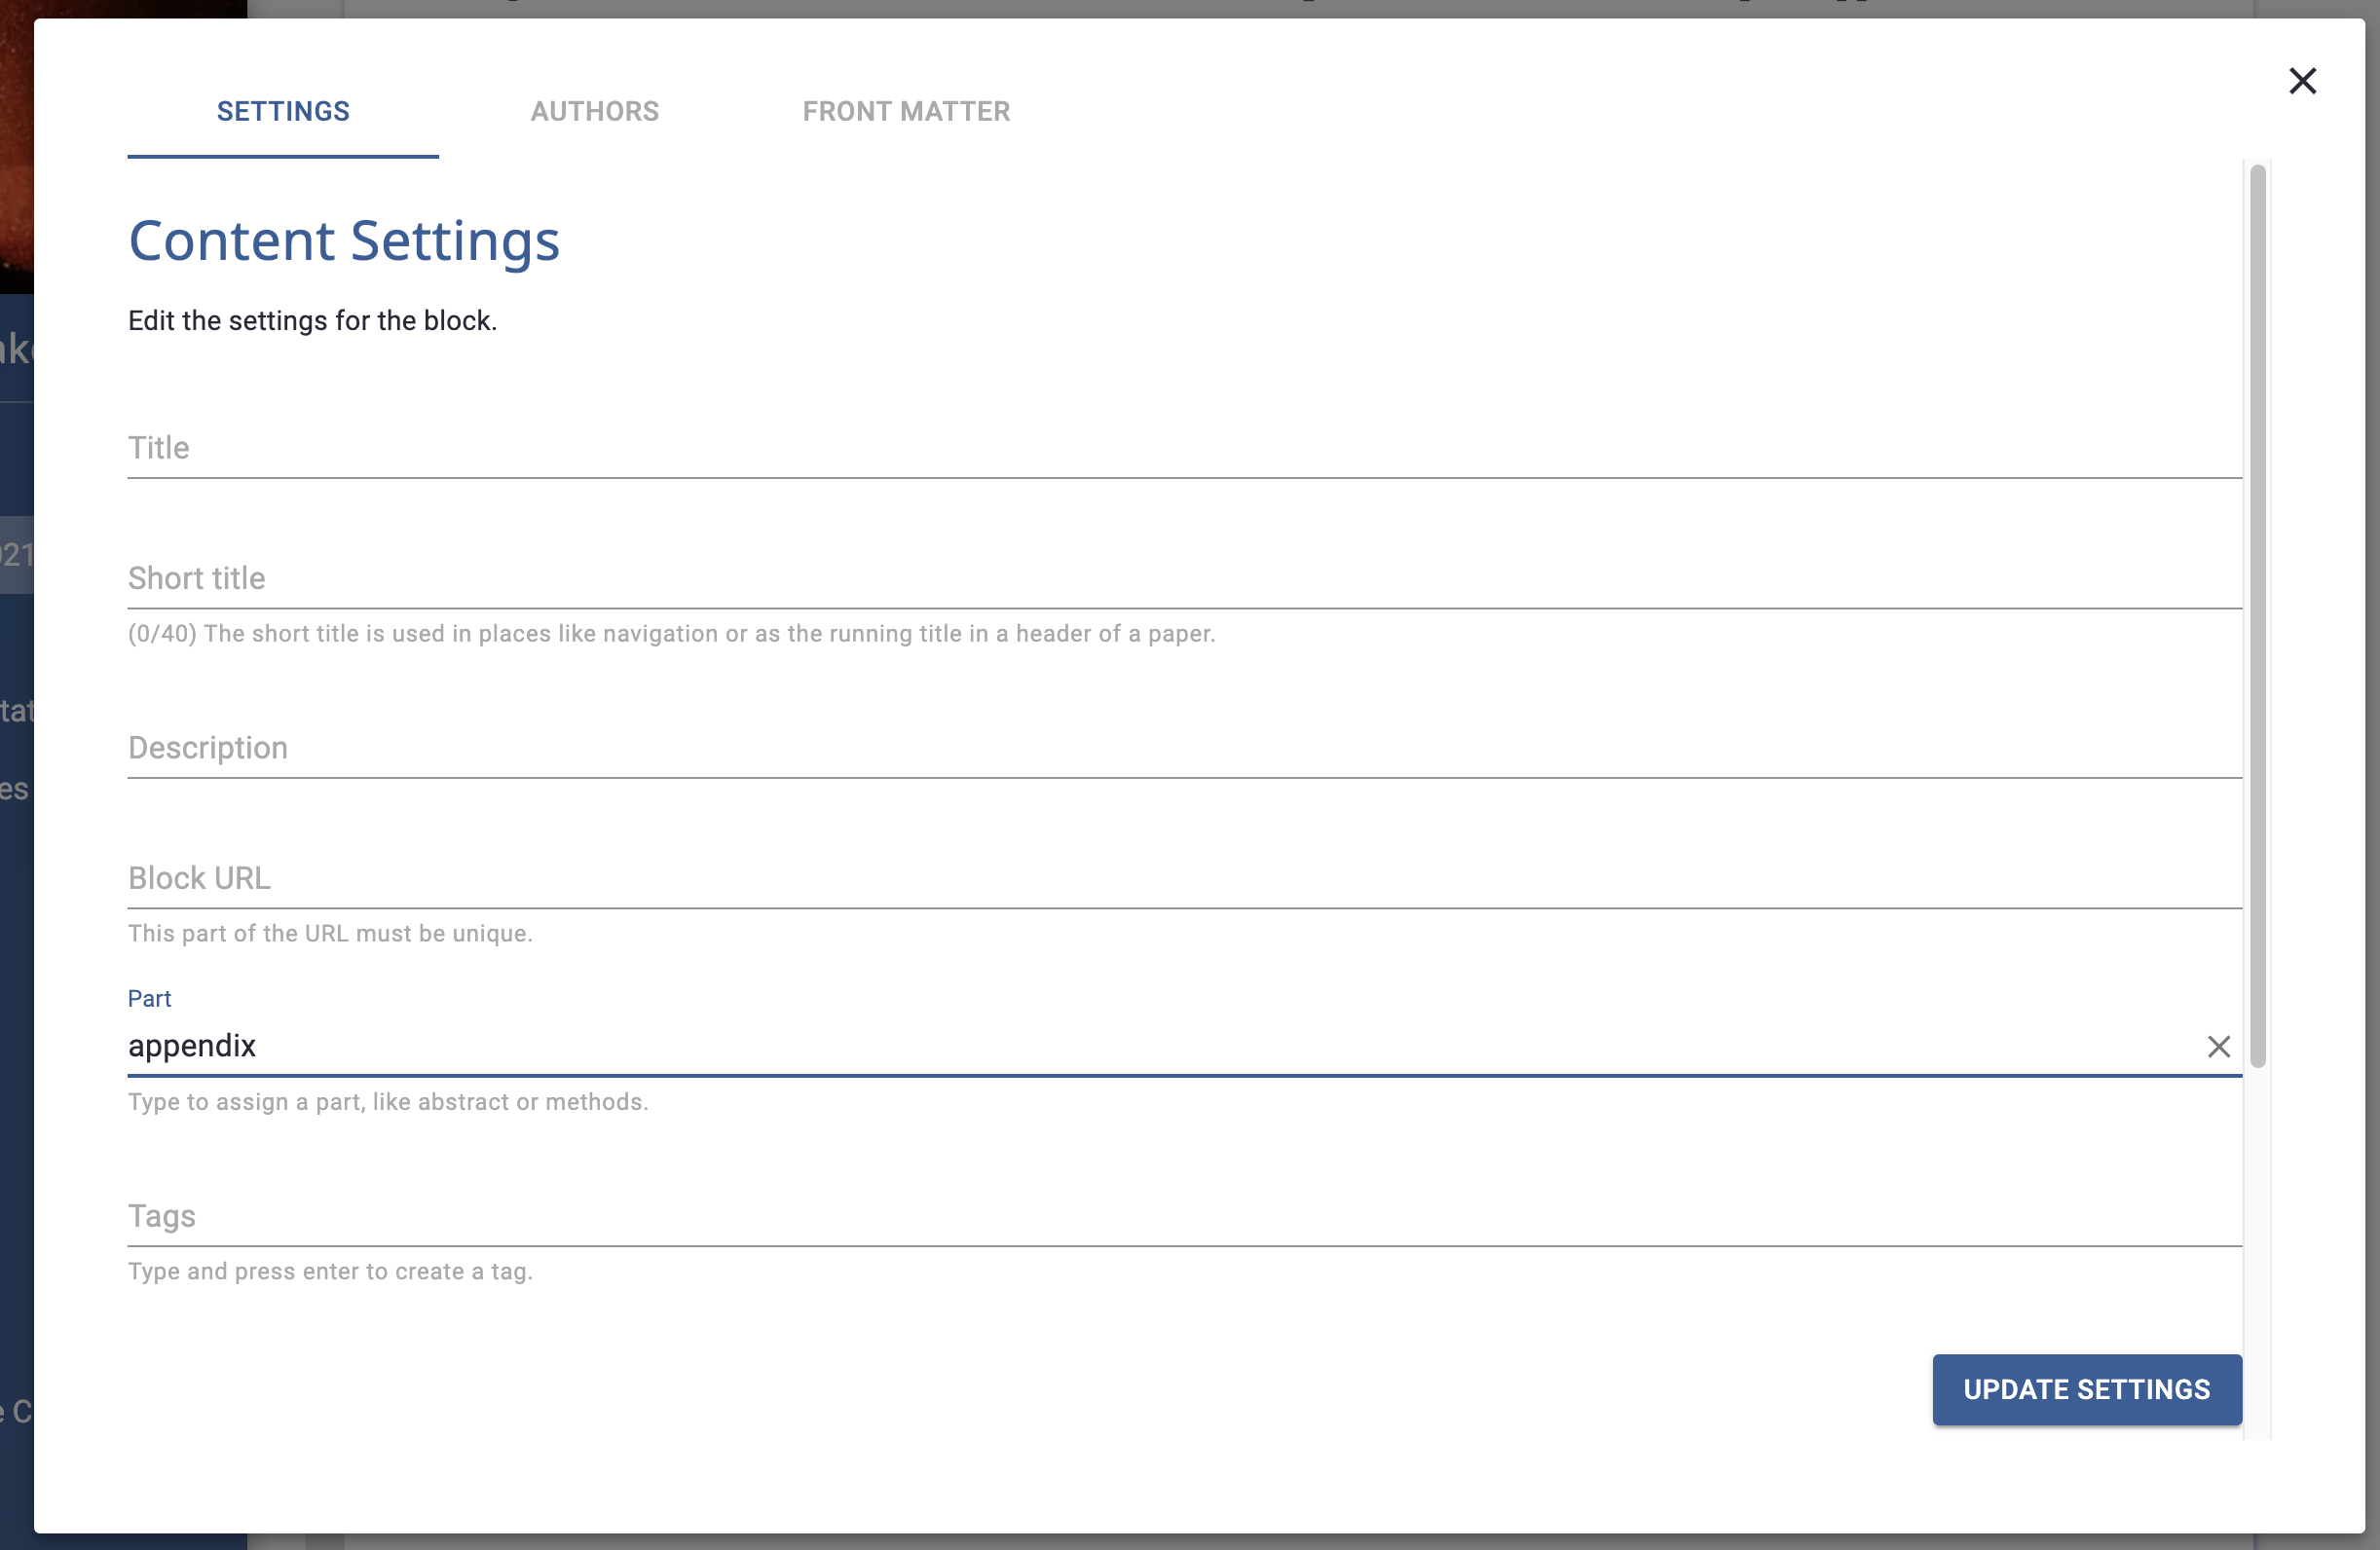
And then in the part field, enter “appendix”:

The part name field, this is freeform text but you can select the appendix from the list of suggestions.
After you update settings you will see a label on your block:

Blcoks are marked with their part name in the Curvenote editor.
Save your draft.
You can add as many individual appendix blocks as you like and they will all be picked up in order, no matter where they appear in your manuscript.
Add a Second Article
Alternatively, write your appendix in a separate article.
As all your references, figures, tables and images accessible form anywhere in your Curvenote project, you will be able cite, reference or use them in a separate appendix article.
This approach is useful if you need your appendix to be in a separate PDF, or you want to ensure separation for numbering or other reasons, or if you are publishing to the web.
Also if you have very specific requreiments to work to that Curvenote does not support, you can export your manuscript and appendices as LaTeX, combining the .tex outputs as needed and building your PDF externally.